A camping dinnerware pack-out instruction should tell a second team exactly which component revision and quantity to use, where each piece goes, in what order, and what to check before closure. Write the sequence from an approved physical sample, include a photograph or drawing for each ambiguous orientation, and require a named checker to record exceptions. A tidy hero image alone is not a repeatable instruction.
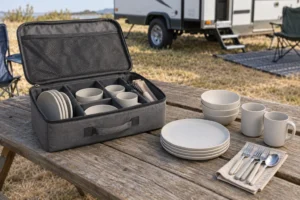
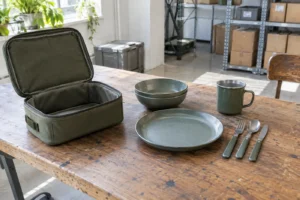
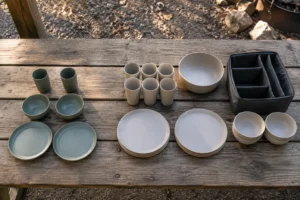
This guide produces a numbered packing sequence and sign-off record that a buyer can hand to an assembly team. It is a buyer-side method, not a statement that a pictured set, bag or manufacturing process is available from Naike Dinner. The photographs below are illustrative concepts rather than actual work instructions, tested configurations or evidence of a factory operation.
Freeze the release basis before writing a step
A packing sequence cannot repair an unsettled bill of materials. Identify the set or bundle reference, component and case revisions, quantities, target market, optional modules, outer packaging revision and approved sample ID. For a modular range, identify whether the instruction covers a two-person core, a four-person configuration or a specific add-on; do not let operators infer the intended count from a photograph.
Start from the actual sample and a controlled drawing or component index. The case-fit drawing checklist handles the separate question of whether existing pieces and a proposed case can be approved together. This article starts only after that interface remains open or has been documented; a sequence is not evidence of clearance, retention or transport protection.
For context, ISTA’s PackSight description illustrates a documented, step-by-step workflow for planning and reporting a packaged-product test. It is not a pack-out instruction for this camping set, a certification, or proof that any supplier follows the steps below. The buyer must write a revision-specific instruction from real components and agree on its acceptance criteria with the responsible parties.
A camping dinnerware pack-out instruction another team can follow
Write actions in the physical order that a packer can execute. For each step, specify the part identity, quantity, case zone or orientation, a visible check and the action when the expected part is missing or does not sit freely. The sequence below is an editable model: replace every placeholder with drawing references and results from your own approved sample, and remove steps for components not in the sold configuration.
| Step | Operator action | What the second person checks | Stop / exception record |
|---|---|---|---|
| 00 — Identify | Read the set reference, revision and authorized option list on the controlled work instruction. | Match case, components, insert and outer pack to the same release. | Hold any mixed or unidentified revision. |
| 01 — Clear station | Remove the prior set and unrelated components; prepare a clean, dry work surface. | Confirm there are no loose pieces from another configuration. | Segregate unknown or contaminated items. |
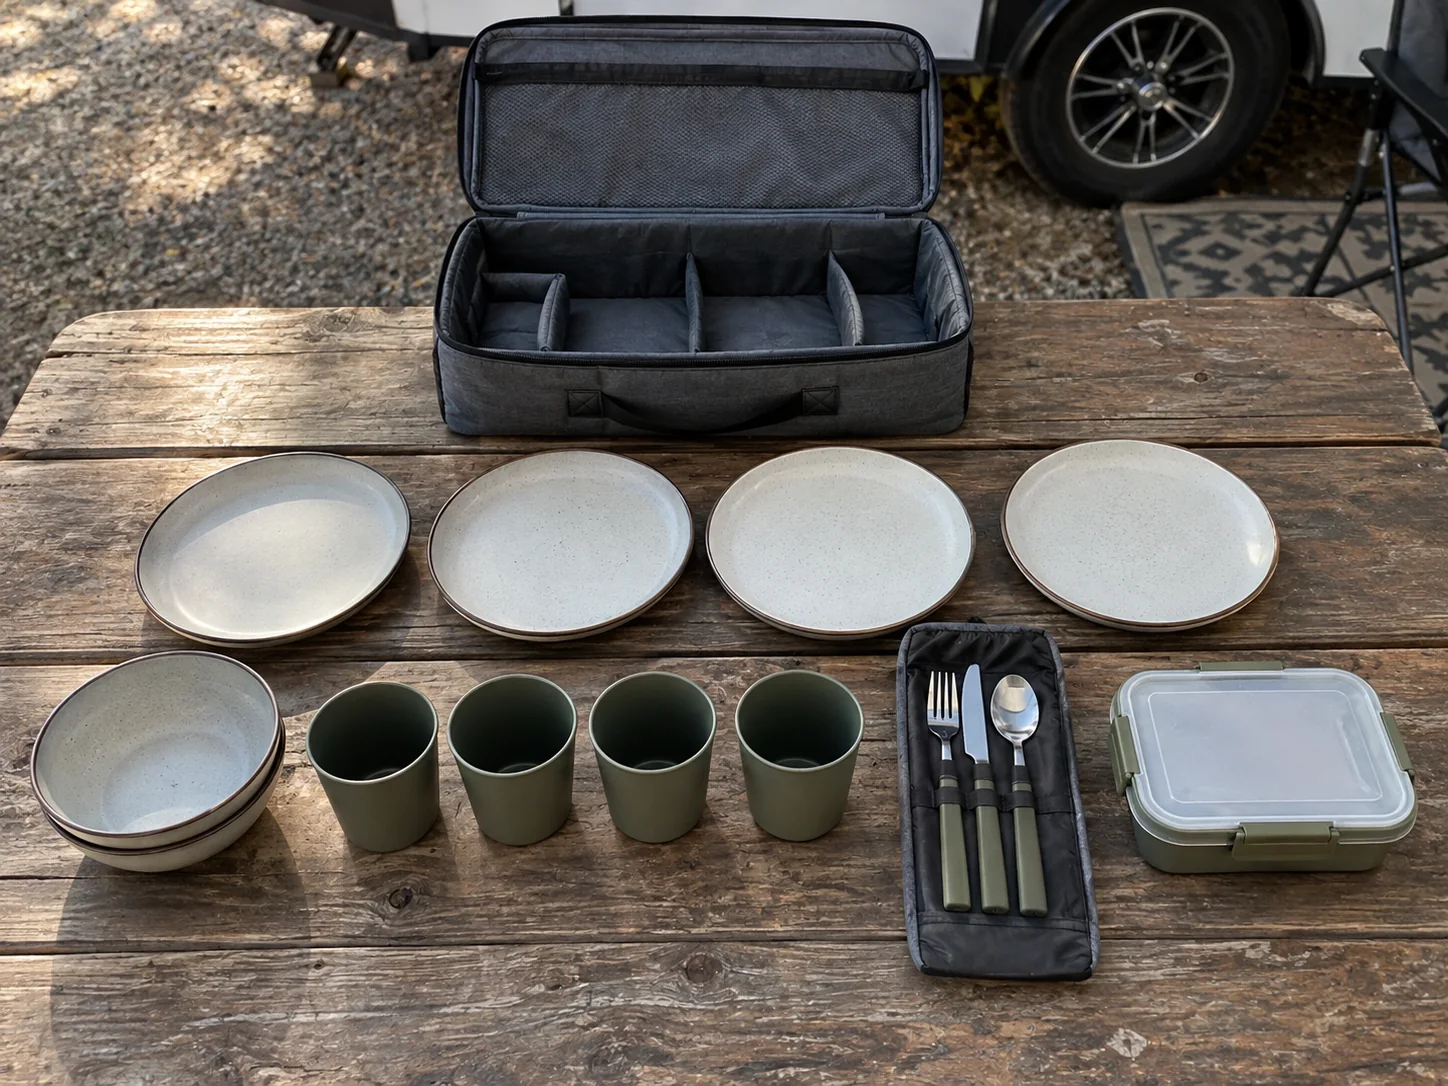
| 02 — Count | Lay out the specified plates, bowls, cups, utensils and optional container by part group. | Compare each group with the approved component index, not a stock photo. | Record missing, extra or substituted pieces. |
| 03 — Inspect surfaces | Visually check food-contact faces, rims, edges, closures and obvious damage under agreed lighting. | Confirm the required observation is actually defined for this set. | Isolate suspect components for disposition. |
| 04 — Prepare case | Open the correct case revision fully; inspect divider, pockets, straps and zipper path. | Match the actual case architecture to the released diagram. | Stop for a damaged or wrong case. |
| 05 — Load plates | Place the plate group in the named zone, in the released orientation, without forcing the rim. | Check orientation and any separator or sleeve specified by the approved sample. | Record pressure, contact or uncertain orientation. |
| 06 — Load bowls | Place bowls or a nested stack in the named zone at the authorized count. | Check that the stack can be removed without prying and that surfaces are protected. | Do not compress a stack to make it fit. |
| 07 — Load cups | Place cups and optional lids in their assigned pockets, noting handle direction if applicable. | Check separation from hard edges and the closure line. | Stop if a cup or lid displaces another required piece. |
| 08 — Load utensils | Place each fork, spoon or knife in its specified sleeve or retention feature. | Check count, edge protection and the visible end of the sleeve. | Record a missing utensil or exposed contact point. |
| 09 — Optional module | Add only the lunch box, serving piece or insert named in this configuration. | Confirm the option has its own fit and evidence approval, not merely an empty space. | Hold incompatible or unapproved substitutions. |
| 10 — Close | Follow the released closure route while the case rests in its intended orientation. | Check zipper travel, seam strain, lid height and whether any part shifts. | Never force a closure; record the contact point. |
| 11 — Release | Attach the correct identification and place the complete set in the approved outer pack. | Sign the count, revision, closure and disposition fields before the pack leaves the station. | Hold unsigned, mixed-revision or unresolved sets. |
This is a sequence template, not a claim that all 12 rows are mandatory for every product. A kit without a lunch box omits step 09; a case with a removable tray needs a separate tray orientation and removal check. For a product line with different piece counts, keep the shared action language but issue a configuration-specific component index and photograph for each released variant.
Turn the sequence into unambiguous visual control
A sentence such as “place cups in bag” leaves too much interpretation. Show the specific pocket, cup direction, protective layer and visibility of the count at the point of assembly. Use a clear image of the approved sample and a callout in the controlled document; do not place decorative, unlabeled photos beside the steps and assume they are instructions.
Photographs should distinguish the empty case, the intermediate state before closing, and the final closed case. Keep them tied to the same component and case revisions as the text. If a zipper route or divider changes, retire the old image at the same time as the old words; a new picture with an obsolete BOM remains a conflict.
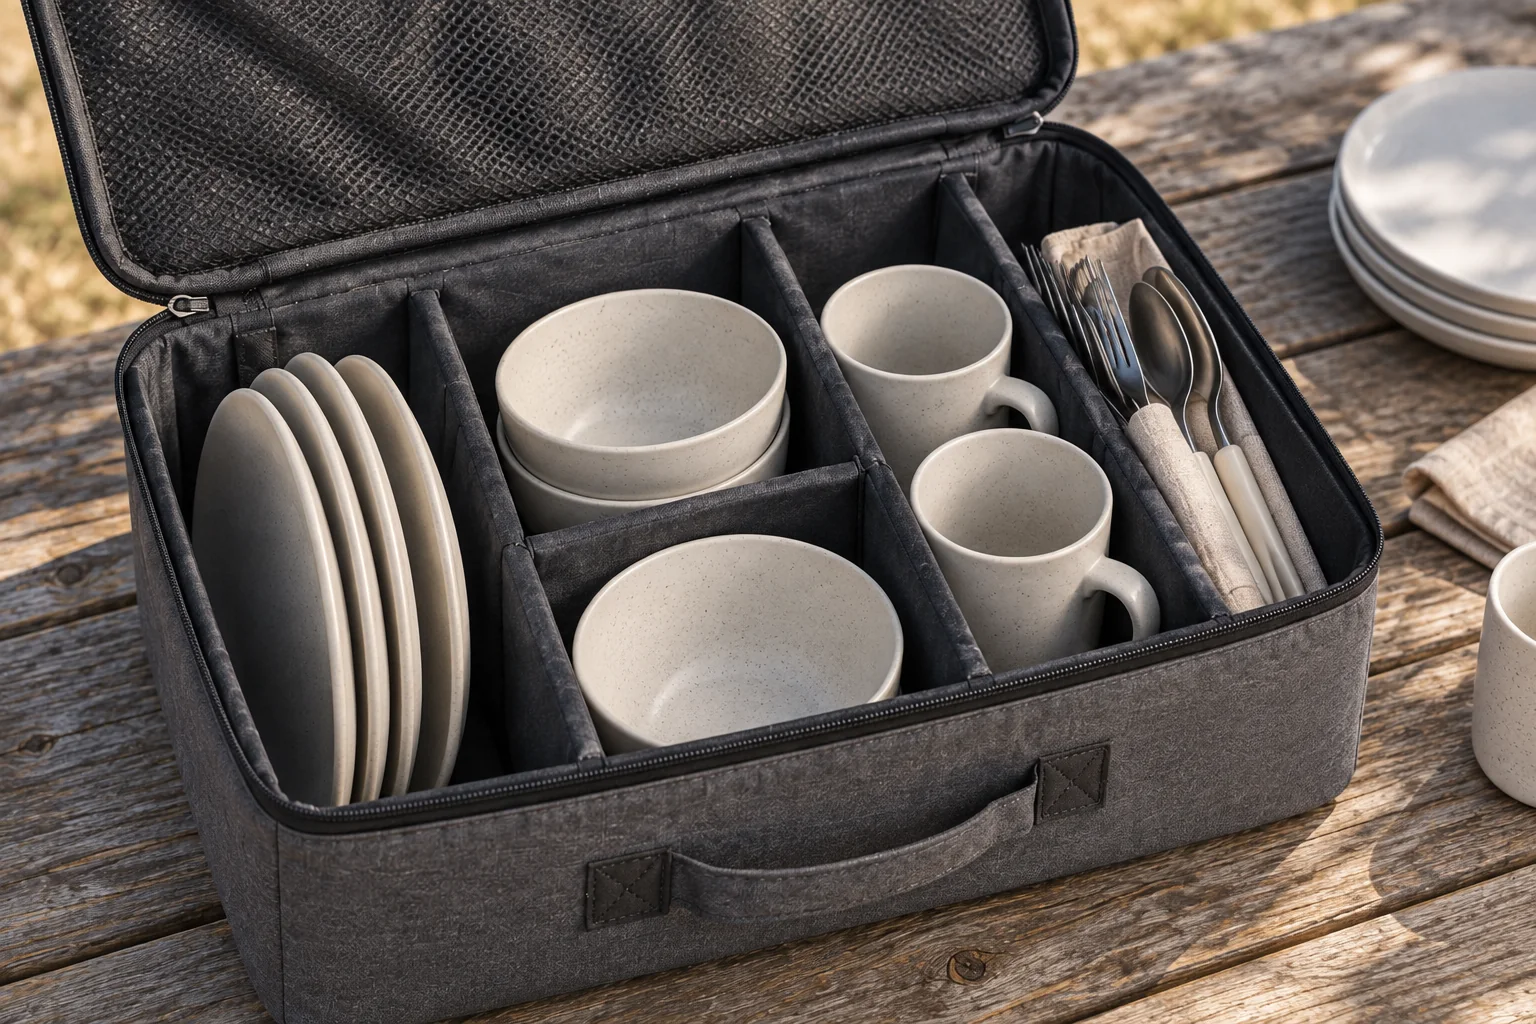
Try a blind repack: give the instruction, actual sample and correct parts to someone who did not write it. Ask them to assemble one set without verbal prompts, then note where they hesitate, reverse a part, leave an item out or force a closure. Revise the step or visual at the point of ambiguity, and repeat with the revised document. This is buyer guidance for a pilot, not a substitute for a defined formal inspection plan.
The pack-out sign-off record buyers can request
The record should connect the work to the released sample, not just say “checked.” A copyable line format is below; fill each blank with real project data. A field left blank is an open issue, not an implied pass. Keep the operator and independent checker roles distinct when the purchase agreement calls for two-person verification.
| Record field | Buyer-entered value | Why it is needed |
|---|---|---|
| Set and case reference / revision | [Enter controlled identifiers] | Prevents a visually similar but different configuration from being signed off. |
| Component index / optional module | [Enter index and selected option] | Defines the count basis at this station. |
| Approved sample or image revision | [Enter approval reference] | Connects the orientation to a real reviewed assembly. |
| Work instruction revision | [Enter revision and effective date] | Makes later change and retraining traceable. |
| Count and surface review | [Record observed status and exception ID] | Separates the quantity check from condition. |
| Closure and retention review | [Record observation against agreed criteria] | Captures a forced zip or displaced component. |
| Operator / checker / disposition | [Names or controlled identifiers, time and release/hold] | Shows who made the release decision and how an exception was resolved. |
If the company uses electronic records, the same controlled fields may be captured digitally; no particular paper form or software is required by this article. GS1 US’s explanation of GS1-128 illustrates how identifiers and optional batch or lot information can be carried for shipping and receiving. That does not mean this consumer dinnerware case requires such a barcode; agree the relevant identification level with the buyer and logistics partner rather than inventing a labeling requirement.
Where the instruction changes with the channel
Retail shelf units may require a face-out arrangement and an outer sleeve that hides the carry case. E-commerce units may need a different outer mailer and insert. A rental or event fleet may need a return-count step before cleaning and repacking. The inner component sequence can remain common only if the case and components are genuinely unchanged; make channel-specific outer-pack and handling steps explicit rather than merging every workflow into a vague “pack securely.”
The nesting-versus-stacking guide explains why geometry affects the chosen arrangement. The packed-contact and rattle guide helps identify possible contact zones. Neither tells a packer which revision to use, the step order, or who signs the release—those are the missing controls this worksheet supplies.
When distribution testing is required, validate the actual packaged-product combination and route. ISTA’s test-procedure overview describes packaged-product tests for distribution hazards; a tidy inner bag is not a transport result. Changes to components, interior packaging, closure or the route can trigger a new review, as ISTA’s retest guidance explains. The buyer and test partner must select an applicable method and acceptance criteria, rather than adding “drop tested” to an untested instruction.
What the sign-off cannot prove
A repeatable pack-out establishes that people can follow a controlled sequence with the specified pieces. It does not establish food-contact safety, dishwasher suitability, heat resistance, leakproofness, direct-flame use, drop performance or a particular defect rate. Require finished-component evidence for material and use claims and a separate distribution review for package protection.
A photograph generated for this article is especially unsuitable as an acceptance record. It cannot show sample revision, hidden contact pressure, cleaning condition or the result of repeated handling. Keep concept imagery separate from the real sample photographs and signed observations used in the project file.
B2B Buyer Checklist
| Check | Question | Why It Matters |
|---|---|---|
| Configuration freeze | Which exact component, case and option revisions does this instruction govern? | Stops cross-configuration mixing. |
| Visible count | Can each required part be counted before closure without relying on the hero photograph? | Reduces missing-piece ambiguity. |
| Zone and order | Does every step identify a location, orientation and visible check? | Lets a second team repeat the result. |
| No forced fit | Is the hold instruction clear when a divider, rim or zipper resists? | Prevents an assembly shortcut from hiding a design issue. |
| Independent trial | Has an unfamiliar team repacked a real sample without coaching? | Exposes unclear words and images. |
| Traceable release | Are exception, checker and disposition fields completed? | Separates an observed release from an unsigned assumption. |
Procurement FAQs
1. Is a bill of materials enough?
No. A BOM identifies what belongs in a set but not the physical order, pocket, orientation, protective contact or closure check. Keep both linked by revision so a component substitution triggers an instruction review.
2. Can one instruction cover several set sizes?
It can share common steps, but each released configuration needs its own component count, option selection and approved layout. A four-person photo should not silently authorize a two-person or six-person pack.
3. Must the instruction include measurements?
Include only critical dimensions or clearance decisions that the buyer and supplier have agreed to verify. Put actual values and tolerances on the controlled drawing or acceptance record; this generic worksheet provides no universal measurement.
4. What should happen when a component will not fit?
Stop the pack and record the revision, contact location and proposed disposition. Do not compress a bowl stack, bend the case or force a zipper to meet the expected appearance; send the issue to the drawing and sample owner.
5. Does a sign-off replace transport testing?
No. It records execution of the defined packing method. If distribution performance is a buying requirement, separately specify the actual packaged-product configuration, route, test procedure and acceptance plan with the appropriate partner.
6. When should the instruction be revised?
Review it when a component, quantity, case, divider, protective insert, outer pack, artwork or intended channel changes. Even a visually small change can alter count, contact or closure; link the revision to a sample and retrain the affected station before release.
The handoff that makes a pack-out repeatable
Send the set/component index, case and insert drawings, configuration options, approved sample photographs and a blank version of the numbered sequence to the proposed assembly partner. Ask them to mark every unresolved step and return one blind-repack observation and completed sign-off record. That response is more useful than a claim that the set “packs well.”
For a project-specific sample and specification review, identify the actual components you want to combine, the case concept, target market and any known revision constraints. If you need a written quotation after the sequence is settled, send the selected configuration and open issues; materials, tooling feasibility, MOQ, prices and lead time must be confirmed for that project rather than presumed from these illustrations.